17 Oct Comprehensive Guide to Restoring Your Roof: Addressing Lost Shingles
Florida’s ever-changing climate can be a challenge for homeowners, particularly when it comes to maintaining the integrity of their roofs. Post-storm, it’s not rare to discover a few shingles have gone astray. However, with the right knowledge and tools at your disposal, you can ensure your roof remains in top condition. Here’s an in-depth guide to assist you in mending those absent shingles.
The Significance of Roof Upkeep
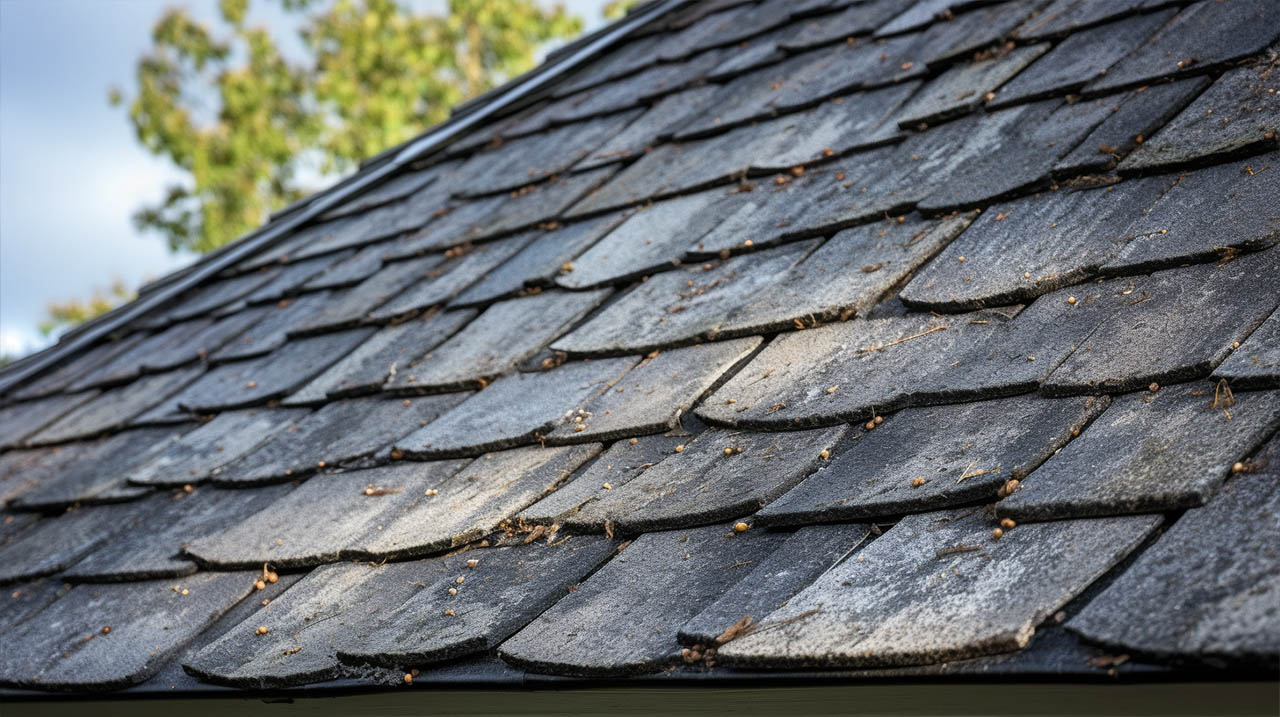
A roof in prime condition not only elevates the visual appeal of your residence but also acts as its primary shield. Dislodged or impaired shingles can pave the way for leaks, potentially leading to extensive internal damage. Addressing these concerns promptly can avert escalated damage and circumvent expensive future repairs.
Essential Tools and Supplies
Before embarking on this repair journey, assemble the following essentials:
- A sturdy pry bar
- Matching replacement shingles
- A sharp utility knife
- Four sturdy nails for each shingle
- High-quality sealant
- A reliable caulking gun
Detailed Procedure to Mend Absent Shingles
- Spot the Affected Zone: Initiate by thoroughly inspecting your roof to pinpoint all the absent or impaired shingles.
- Set the Stage for Repair: Opt for a day with clear skies to undertake the repair. Adverse weather conditions can introduce unnecessary risks.
- Safely Ascend the Roof: Ascertain that your ladder is firmly grounded. If feasible, have an assistant stabilize it for added security. Transport all your tools and essentials to the designated repair spot.
- Elevate the Undamaged Shingles: Utilize the pry bar to delicately elevate the shingles situated above the affected region, revealing the securing nails.
- Extract the Impaired Shingles: Carefully pry out any remnants of the damaged or absent shingles.
- Unfasten the Nails: Deploy the curved segment of the pry bar to extricate the nails. Typically, shingles are anchored by two nail rows.
- Align the New Shingle: Gently position the new shingle, ensuring its seamless alignment with its neighbors.
- Anchor the Shingle: Affix the new shingle to the roof’s foundation. A standard three-tab shingle segment necessitates four nails.
- Re-secure Adjacent Shingles: Firmly nail down the surrounding shingles in the repair vicinity.
- Administer Sealant: Fill the caulking gun with sealant and methodically apply it to bond the shingle layers, achieving a polished finish.
When Expertise is Essential
While there’s a certain satisfaction in DIY endeavors, they might not always yield the desired outcome. If the repair process seems daunting or the damage appears extensive, it’s prudent to consult professionals. At Dean Roofing Company, we are dedicated to delivering unparalleled roofing solutions to the Clearwater populace. Whether you’re in search of a roof replacement in Clearwater or scouting for adept roofing companies in Clearwater, our team is equipped to cater to your needs. With our seasoned expertise, your roof’s welfare is assured.
Parting Thoughts
Your roof stands as a pivotal element of your abode, warranting consistent attention. Armed with the appropriate tools, supplies, and guidance, you can adeptly mend missing or damaged shingles, ensuring your roof’s enduring resilience. Nonetheless, when uncertainties arise, it’s always wise to enlist professional aid to ensure optimal outcomes. A diligently maintained roof promises enduring protection.
Sorry, the comment form is closed at this time.